Imagine building an AI application where connecting to external data sources is as simple as plugging in a USB cable. That’s the promise of Model Context Protocol (MCP) – an open standard introduced by Anthropic in November 2024 that’s revolutionizing how AI systems interact with external tools and data.
In this comprehensive guide, we’ll explore MCP in detail, understand its architecture, see real-world examples, and learn how to implement it.
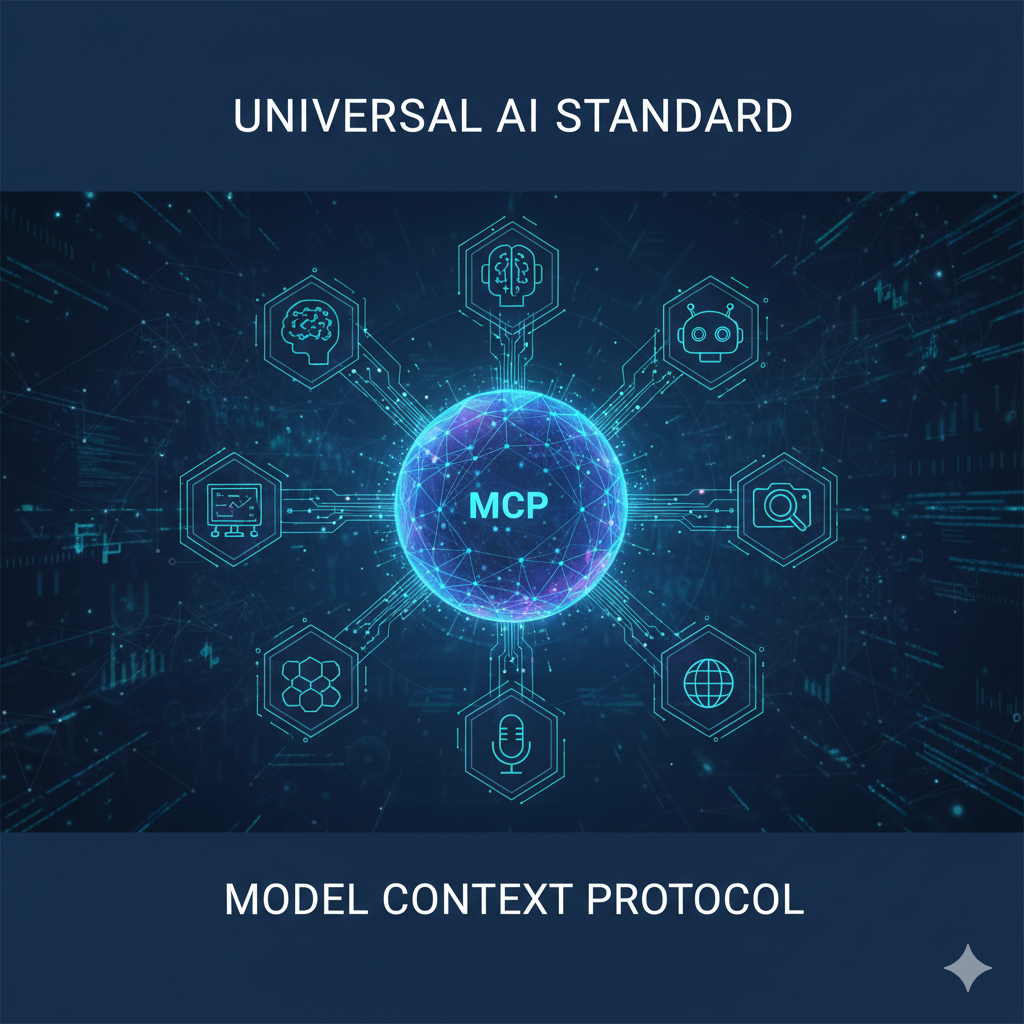
What is Model Context Protocol (MCP)?
Model Context Protocol is an open-source standard that enables AI applications (like Claude, ChatGPT, or custom LLMs) to connect with external systems in a standardized way. Think of MCP as the “USB-C port” for AI – a universal interface that eliminates the need for custom integrations for every data source.
The Problem MCP Solves
Before MCP, developers faced an “N×M problem”:
- N AI applications × M data sources = N×M custom integrations
- Each connection required bespoke code
- No standardization meant duplicated effort
- Scaling integrations was expensive and time-consuming
Example: If you had 5 AI apps and wanted to connect each to 10 data sources, you’d need 50 separate integrations!
MCP’s Solution. MCP reduces this to:
- N AI applications + M data sources = N+M implementations
- Build once, connect everywhere
- Standardized protocol for all connections
- Ecosystem-driven growth
Now, you only need 15 implementations for the same scenario!
MCP Architecture: How It Works
MCP follows a client-server architecture with clearly defined components and communication layers.
Core Components
The application that houses the AI model (e.g., Claude Desktop, Cursor IDE, custom AI apps). The host manages user interactions and orchestrates connections.
Integrated within the host application, the client handles:
- Connection management with MCP servers
- Protocol translation
- Request/response handling
- Capability discovery
Exposes external resources, tools, or data sources through the MCP protocol. Servers can provide:
Prompts: Templated interactions
Architecture Diagram
┌──────────────────────────────┐
│    MCP Host (AI App)      │
│  (Claude, Cursor, etc.)   │
│                            │
│    ┌────────────────┐  │
│    │   MCP Client   │  │
│    └───────┬────────┘  │
└───────────│──────────────────┘
             │ MCP Protocol
             │ (JSON-RPC 2.0)
     ┌───────┼──────────┐
     │       │           │
┌────┴───┐ ┌─┴─────┐ ┌─┴─────┐
│  MCP    │ │  MCP   │ │  MCP   │
│ Server │ │ Server │ │ Server │
│   1    │ │   2    │ │   3    │
└───┬────┘ └─┬─────┘ └─┬─────┘
    │         │         │
┌───┴────┐  ┌─┴─────┐  ┌┴────┐
│Database│  │  API  │  │Files│
│  MySQL │  │Weather│  │Local│
└─────────┘  └────────┘  └──────┘
Communication Layers
MCP operates on two distinct layers:
Handles the physical communication between client and server:
- STDIO (Standard Input/Output)
- For local integrations
- Server runs on the same machine as client
- Optimal performance, no network overhead
- Example: Reading local files
- HTTP + SSE (Server-Sent Events)
- For remote connections
- HTTP for client requests
- SSE for server responses and streaming
- Supports standard authentication (OAuth, API keys, bearer tokens)
Defines the protocol structure and primitives:
Handles notifications and events
How MCP Communication Works: The Handshake Flow
Let’s walk through a typical MCP interaction:
Step 1: Initialization
When an MCP client starts, it initiates a handshake:
// Client sends initialize request
{
  "jsonrpc": "2.0",
  "id": 1,
  "method": "initialize",
  "params": {
    "protocolVersion": "2024-11-05",
    "capabilities": {
      "roots": {
        "listChanged": true
      }
    },
    "clientInfo": {
      "name": "my-ai-app",
      "version": "1.0.0"
    }
  }
}

// Server responds with capabilities
{
  "jsonrpc": "2.0",
  "id": 1,
  "result": {
    "protocolVersion": "2024-11-05",
    "capabilities": {
      "tools": {},
      "resources": {}
    },
    "serverInfo": {
      "name": "weather-server",
      "version": "1.0.0"
    }
  }
}
Step 2: Capability Discovery
Client discovers what the server offers:
// Client requests available tools
{
  "jsonrpc": "2.0",
  "id": 2,
  "method": "tools/list"
}

// Server responds with tool definitions
{
  "jsonrpc": "2.0",
  "id": 2,
  "result": {
    "tools": [
      {
        "name": "get_weather",
        "description": "Get current weather for a location",
        "inputSchema": {
          "type": "object",
          "properties": {
            "location": {
              "type": "string",
              "description": "City name"
            }
          },
          "required": ["location"]
        }
      }
    ]
  }
}
Step 3: Tool Execution
AI decides to use a tool and client makes the call:
// Client calls the tool
{
  "jsonrpc": "2.0",
  "id": 3,
  "method": "tools/call",
  "params": {
    "name": "get_weather",
    "arguments": {
      "location": "San Francisco"
    }
  }
}

// Server returns the result
{
  "jsonrpc": "2.0",
  "id": 3,
  "result": {
    "content": [
      {
        "type": "text",
        "text": "Temperature: 18°C, Condition: Partly Cloudy"
      }
    ]
  }
}
Building an MCP Server: Practical Example
Let’s build a simple file system MCP server using Python:
import asyncio
from mcp.server import Server
from mcp.server.stdio import stdio_server
from mcp.types import Tool, TextContent
import os

# Create server instance
app = Server("filesystem-server")

@app.list_tools()
async def list_tools() -> list[Tool]:
    """
    Define available tools
    """
    return [
        Tool(
            name="read_file",
            description="Read contents of a file",
            inputSchema={
                "type": "object",
                "properties": {
                    "path": {
                        "type": "string",
                        "description": "File path to read"
                    }
                },
                "required": ["path"]
            }
        ),
        Tool(
            name="list_directory",
            description="List files in a directory",
            inputSchema={
                "type": "object",
                "properties": {
                    "path": {
                        "type": "string",
                        "description": "Directory path"
                    }
                },
                "required": ["path"]
            }
        )
    ]

@app.call_tool()
async def call_tool(name: str, arguments: dict) -> list[TextContent]:
    """
    Execute tool based on name
    """
    if name == "read_file":
        path = arguments["path"]
        try:
            with open(path, 'r') as f:
                content = f.read()
            return [TextContent(
                type="text",
                text=content
            )]
        except Exception as e:
            return [TextContent(
                type="text",
                text=f"Error reading file: {str(e)}"
            )]

    elif name == "list_directory":
        path = arguments["path"]
        try:
            files = os.listdir(path)
            file_list = "\n".join(files)
            return [TextContent(
                type="text",
                text=f"Files in {path}:\n{file_list}"
            )]
        except Exception as e:
            return [TextContent(
                type="text",
                text=f"Error listing directory: {str(e)}"
            )]

async def main():
    async with stdio_server() as (read_stream, write_stream):
        await app.run(
            read_stream,
            write_stream,
            app.create_initialization_options()
        )

if __name__ == "__main__":
    asyncio.run(main())
Real-World Use Cases
1. Customer Support AI Agent
Scenario: AI agent needs access to customer database, ticketing system, and knowledge base.
Implementation:
// MCP Server for CRM Integration
const server = new MCPServer("crm-server");

server.addTool({
  name: "search_customers",
  description: "Search for customers by email or name",
  execute: async (params) => {
    const { query } = params;
    const results = await database.query(
      'SELECT * FROM customers WHERE email LIKE ? OR name LIKE ?',
      [`%${query}%`, `%${query}%`]
    );
    return results;
  }
});

server.addTool({
  name: "create_ticket",
  description: "Create a support ticket",
  execute: async (params) => {
    const { customerId, issue, priority } = params;
    const ticket = await ticketSystem.create({
      customer_id: customerId,
      description: issue,
      priority: priority,
      status: 'open'
    });
    return ticket;
  }
});Benefits:
- AI can instantly look up customer information
- Create tickets without manual data entry
- Access historical support data for context
2. Development Assistant
Scenario: AI coding assistant needs to read/write files, run tests, and access documentation.
# MCP Server for Development Tools
class DevToolsServer:
    def __init__(self):
        self.server = Server("dev-tools")

    @server.add_tool()
    async def run_tests(self, test_path: str):
        """Run unit tests and return results"""
        result = subprocess.run(
            ["pytest", test_path, "-v"],
            capture_output=True,
            text=True
        )
        return {
            "stdout": result.stdout,
            "stderr": result.stderr,
            "returncode": result.returncode
        }

    @server.add_tool()
    async def search_docs(self, query: str):
        """Search documentation"""
        # Connect to documentation API
        results = await docs_api.search(query)
return resultsBenefits:
- AI can run tests and interpret results
- Access project-specific documentation
- Suggest fixes based on test failures
3. E-commerce Personal Shopper
Scenario: AI shopping assistant with access to inventory, user preferences, and order history.
// MCP Server for E-commerce
const ecommerceServer = new MCPServer("ecommerce");

ecommerceServer.addResource({
  uri: "product://catalog",
  name: "Product Catalog",
  description: "Access to product inventory",
  mimeType: "application/json",
  read: async () => {
    const products = await db.products.findAll({
      where: { inStock: true }
    });
    return JSON.stringify(products);
  }
});

ecommerceServer.addTool({
  name: "get_recommendations",
  description: "Get personalized product recommendations",
  execute: async ({ userId, category }) => {
    const userHistory = await db.orders.find({ userId });
    const preferences = analyzePreferences(userHistory);
    const recommended = await recommendationEngine.suggest({
      preferences,
      category
    });
    return recommended;
  }
});
MCP Best Practices
1. Security First
- Authentication: Always use secure authentication methods (OAuth 2.0, API keys)
- Authorization: Implement proper permission checks
- Input Validation: Validate all tool parameters
- Rate Limiting: Prevent abuse of your MCP servers
# Example: Input validation
@app.call_tool()
async def call_tool(name: str, arguments: dict):
    # Validate inputs
    if name == "read_file":
        path = arguments.get("path", "")

        # Prevent directory traversal
        if ".." in path or path.startswith("/"):
            raise ValueError("Invalid path")

        # Restrict to allowed directories
        allowed_dir = "/safe/data/"
        full_path = os.path.join(allowed_dir, path)

        if not full_path.startswith(allowed_dir):
            raise ValueError("Access denied")
2. Clear Tool Descriptions
Write descriptive, detailed tool definitions:
{
  "name": "analyze_sentiment",
  "description": "Analyzes the sentiment of text content. Returns positive, negative, or neutral sentiment with a confidence score between 0-1. Supports English text only. Max length: 5000 characters.",
  "inputSchema": {
    "type": "object",
    "properties": {
      "text": {
        "type": "string",
        "description": "The text to analyze (max 5000 chars)",
        "maxLength": 5000
      }
    },
    "required": ["text"]
  }
}
3. Error Handling
Provide helpful error messages:
try:
    result = await external_api.call(params)
except APIError as e:
    return [TextContent(
        type="text",
        text=f"API Error: {e.message}. Please check your parameters and try again."
    )]
except RateLimitError:
    return [TextContent(
        type="text",
        text="Rate limit exceeded. Please wait 60 seconds before retrying."
    )]
4. Resource Efficiency
Stream large responses when possible.
Getting Started with MCP
For Developers
1. Install the MCP SDK
# Python
pip install mcp

# TypeScript/JavaScript
npm install @modelcontextprotocol/sdk
2. Choose Your Approach
- Build an MCP Server: Expose your data/tools to AI applications
- Build an MCP Client: Integrate MCP servers into your AI app
3. Explore Existing Servers
The MCP ecosystem already includes servers for:
- File Systems: Local and cloud storage
- Databases: PostgreSQL, MySQL, MongoDB
- APIs: Weather, stock data, news
- Development Tools: Git, Docker, testing frameworks
- Business Tools: Slack, Google Workspace, CRM systems
4. Use Claude Desktop
Claude Desktop has built-in MCP support:
// Configure MCP servers in claude_desktop_config.json
{
  "mcpServers": {
    "filesystem": {
      "command": "python",
      "args": ["-m", "mcp_server_filesystem", "/path/to/allowed/directory"]
    },
    "database": {
      "command": "node",
      "args": ["./database-server.js"],
      "env": {
        "DATABASE_URL": "postgresql://localhost/mydb"
      }
    }
  }
}
The Future of MCP
MCP is rapidly gaining traction:
- Adoption: Major AI providers (Anthropic, OpenAI, Google) support MCP
- Ecosystem Growth: Hundreds of community-built servers
- Enterprise Integration: Companies building MCP connectors for internal systems
- Standardization: Becoming the de facto standard for AI-data integration
What’s Next?
The MCP roadmap includes:
- Enhanced Security: More sophisticated authentication and authorization
- Streaming Support: Better handling of real-time data
- Bidirectional Communication: Servers can proactively notify clients
- Tool Chaining: AI agents orchestrating multiple tools automatically
- Visual Tools: GUI builders for creating MCP servers without code
Conclusion
Model Context Protocol represents a paradigm shift in how AI applications interact with external systems. By providing a universal standard, MCP eliminates integration complexity and enables a thriving ecosystem of interoperable tools and data sources.
From a Solutions Architect perspective, MCP addresses one of the most critical challenges in enterprise AI adoption: integration scalability. Instead of building and maintaining countless point-to-point connections, organizations can now standardize on MCP to create a sustainable, future-proof AI infrastructure. This shift from N×M custom integrations to N+M standardized implementations dramatically reduces total cost of ownership while accelerating time-to-value for AI initiatives.
Whether you’re building AI-powered applications or exposing your services to AI agents, MCP offers a standardized, secure, and scalable solution. The protocol’s simplicity (JSON-RPC), flexibility (tools, resources, prompts), and growing adoption make it an essential technology for anyone working in the AI space.
Key Takeaways
- MCP solves the N×M integration problem
- Simple client-server architecture with clear primitives
- Multiple transport options (STDIO, HTTP/SSE)
- Growing ecosystem of pre-built integrations
- Strong security and authentication support
- Backed by major AI companies
Ready to integrate MCP into your next AI project? Start by exploring the official documentation at modelcontextprotocol.io and join the growing community of developers building the future of AI integration. As enterprises increasingly adopt AI-first strategies, understanding MCP will be crucial for solutions architects and technical leaders driving digital transformation.
Want to discuss AI integration strategies or share your MCP implementation experiences? Connect with me on LinkedIn at linkedin.com/in/swapnilpopat or follow my blog at swapnilpopat.in for more insights on enterprise technology and AI solutions architecture.