Your local repository consists of three “trees” maintained by git.
The first one is your Working Directory which holds the actual files.
The second one is the Index which acts as a staging area and finally the HEAD which points to the last commit you’ve made.
You can propose changes (add it to the Index) using
git add <filename>
git add *
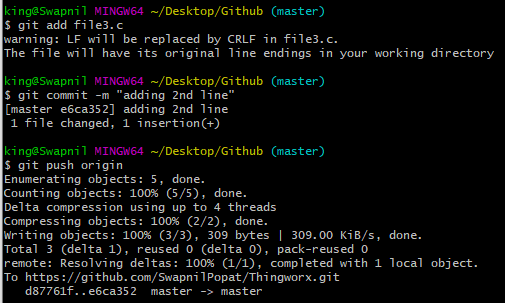
This is the first step in the basic git workflow. To actually commit these changes use
git commit -m “Commit message”
Now the file is committed to the HEAD, but not in your remote repository yet.
Get your local Git repository on Bitbucket
Step 1: Switch to your repository’s directory
cd /path/to/your/repo
Step 2: Connect your existing repository to Bitbucket
git remote add origin https://[email protected]/swapnil_popat/oee.git
git push -u origin master
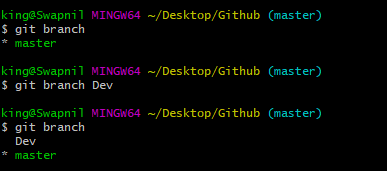
Branching
Branches are used to develop features isolated from each other. The master branch is the “default” branch when you create a repository. Use other branches for development and merge them back to the master branch upon completion.
create a new branch named “feature_x” and switch to it using
git checkout -b feature_x
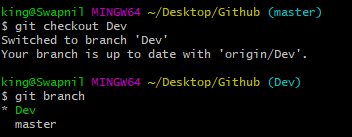
switch back to master
git checkout master
and delete the branch again
git branch -d feature_x
a branch is not available to others unless you push the branch to your remote repository
git push origin <branch>
Summary of Commands with Example
Git init
git remote add origin https://github.com/SwapnilPopat/Thingworx.git
git push -u origin master
Git pull origin master
Control + L = Clear Screen
Git log
Git show commitid

Discover more from My Tricky Notes
Subscribe to get the latest posts sent to your email.